Sunday, June 30, 2024

Bordered Panel Base Card

This card is so easy and quick, it will take you up to 15 minutes to make unless you choose to add a lot of products to it.  You can make these two different ways.  One can be created with a cardstock border, and another is done with a stamped border.  It's all up to your taste.  Check out the video to see just how quick and easy it is.


Based on the card that I made in the video, here is what you will need:

PAPER
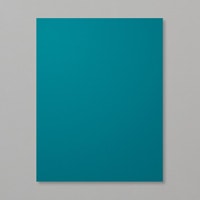
  • Base Card:  Any color cardstock you would like.  For my demonstration I used Pretty Peacock.. This is just a panel cut at 4-1/4" X 5-1/2".
  • Top layer is actually your card:  3-1/2" X 8-1/2" this is folded in half.
  • The fold will be at the top when gluing this piece to your panel. 
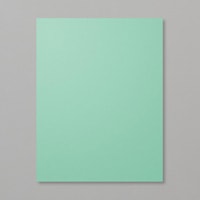
  • A coordinating color is needed to put the sentiment on.  The color of cardstock used was Coastal Cabana.

STAMPS & DIES
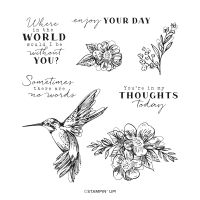
  • It is best to choose a stamp set that has both images and sentiments.  I used the Thoughtful Expressions Cling Stamp Set.
  • The die cut used to cut out my sentiment was from the Love Abound Dies Set.
INK
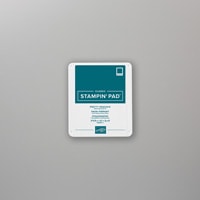
  • Pretty Peacock Classic Stampin Pad
ADHESIVES
  • Stampin Seal
  • Stampin Dimensionals
EMBELLISHMENTS
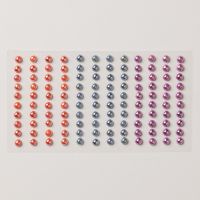
  •  Adhesive-backed Pearl Trio
TOOLS
  • Bone Folder
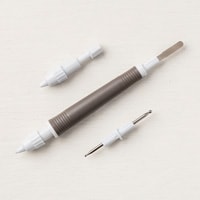
  • Take Your Pick
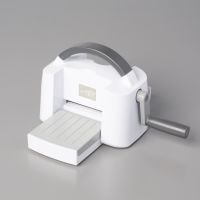
  • Mini Stampin Cut & Emboss Machine


This card has a cardstock border which is a coordinating color cut at 3-3/4" X 4-1/4"
The sentiment is also a coordinating color.

Products can be found in my shop.  Or you can click on the product(s) below for the card that was demonstrated today.  Thanks for joining me today!  Happy stamping!

Product List

Thursday, June 27, 2024

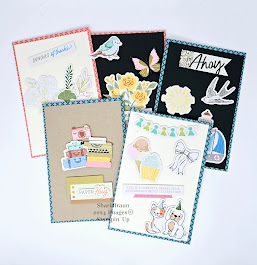
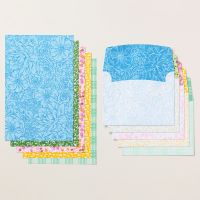
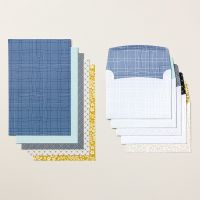
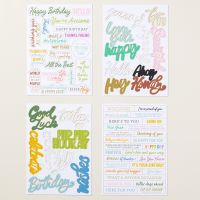
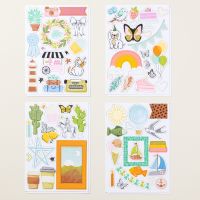
In my last video, I revisited our Mix-and-Match products.  (cards, ephemera packs, stamps on pages 18-19 of the annual catalog).  You can check out the video here.  These cards are a lot of fun to put together..  Everything is right there for you.  All you have to do is mix and match products!  After you see how easy it is you can visit my shop to purchase your products, or click on the products below and you will get to the exact page on my shop, even quicker! The cardstock listed below is good for layering your cards, should you want to. Happy Stamping!


Product List

Tuesday, June 18, 2024

Simple Exploding Card

Last week I introduced the exploding box card.   Today I am going to share with you another exploding card, however, this one is quite simple, but just as fun to create!  Check out the video to see how easy it is to put this card together!  


Here is what you will need to make this card:

PAPER

  • Base Card: 5-1/2" X 8-1/2", scored at 4-1/4" (Peach Pie)
  • Basic Black Layer: 4-1/8" X 5-3/8" 
  • Basic White: 
  • 5-1/4" X 4"
  • (2) 2-3/4" Squares
  • 6" X 6" Designer Series Paper ( 2024-2026 In Colors DSP)

STAMPS

  • Stippled Roses
  • Unbounded Love

INKS

  • Tuxedo Black Memento Ink Pad
  • Pumpkin Pie Stampin' Blends Combo
  • Peach Pie Stampin' Blends Combo
  • Shy Shamrock Stampin' Blends Combo

ADHESIVES

  • Multipurpose Liquid Glue

EMBELLISHMENTS

  • Petal Pink and Pretty Peacock Foiled Gems

TOOLS

  • Bone Folder
  • Take Your Pick
  • Paper Trimmer

If you would like to get any of the products in this project, click on the product(s) below and it will take you straight to the shop.

Product List

Friday, June 14, 2024

Exploding Box Card

My husband's birthday is this weekend.  He made it known that he wanted me to make a card unlike I have given anyone else.  He said -- "I like fishing and explosions!"  (ah-right) I had been looking at videos and I came across some that did explosion cards.  I had made some YEARS ago and I must admit that they weren't the best.  I was trying all sorts of creative approaches to making cards at that time, not realizing what a challenge my attempts were. My exploding cards were mediocre at best.  There are many different kinds of explosion cards and I attempted to do one today, that is not difficult to make!  It can be a very involved task, depending on how much you want to do.  Check out the video to see how easy it is to put together. 

In the video, I made an exploding thank you card.  Here is what you will need:

PAPER

  • You will need four different colors that go well together.  Your first color will be your base.  (I usually make this the darkest color so my lighter and brighter ones stand out more).  You need an 11-1/4" square.  Score it at 3-3/4" and then at 7-5/8".  Turn the page a quarter and score it again, using the same scoring measurements. Then cut the corners out, cutting along the score lines. 
    (Base- Gorgeous Grape)

  • Your second color will build on top of your base. It will be a 9-3/4" square, scored at 3-1/4" X 6-1/2".  Turn the cardstock a quarter turn and score again.  Then cut the corners out, cutting along the score lines.
    (Second Color- Highland Heather)

  • Your third color will build on top of your second color. It is to be a 8-1//4" square, scored at 2-3/4" and 5-1/2" You will follow suite as you did with the previous colors.
    (Third Color- Fresh Fresia)

  • The fourth color will be your lid.  For this, you need a 6" square, and it is to be scored at 1" on all sides.  You will cut slits on each corner, cutting along the score line.  These corners will fold in and are adhered to the 1" fold on all sides.  You will see your lid forming as you do this.
     (Lid- Petunia Pop)

STAMPS

  • Choose whatever stamps you want to use--mix and match what goes together for your card.

INK

  • Choose colors that will match your layered colors or any Designer Series Paper that you may use.

ADHESIVES

  • Multipurpose Liquid Glue
  • Tear n' Tape
  • Stampin Dimensionals
  • Mini Stampin' Dimensionals

EMBELLISHMENTS

  • You can apply ribbon or adhesive-backed embellishments if you wish.

TOOLS

  • Bone Folder
  • Take Your Pick
  • Paper Snips
  • Paper Trimmer
SIDE NOTE
I used the Bright and Beautiful 6"X6" Designer Series Paper to decorate all the squares on my base.  If you choose to use DSP, your measurements should be 3-5/8" X 3-3/8".

I hope you enjoyed today's video and blog post.  Have fun creating your own explosion treat for someone special! Click on the products below that you would like to purchase to do this card. They will take you to my shop Happy Stamping!


Product List

Nature's Paintings Alternative Cards

 I have introduced you, through my videos of one of our latest kits entitled, "Nature's Paintings Kit.  It comes with a "color...