In order to make a drapery card, you will need Designer Series Paper that has two sides. When the drape is complete you will want to see the contrast between the two sides. Check out my video to get a complete understanding.
This month Stampin' Up! is holding a sale on Designer Series Paper! Visit my shop and put "Designer Series Paper" in the search bar and you will see all the paper that is on sale. It's a great offer and only runs this month!
Here are the products and directions shown in my Drapery Card video:
PAPER
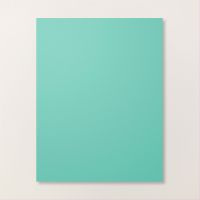
- Base Card: Summer Splash Cardstock 5-1/2 X 8-1/2"
- Inside Layer: Basic White 5-1/4" X 4"
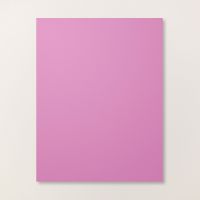
- Sentiment: Scrap of Petunia Pop
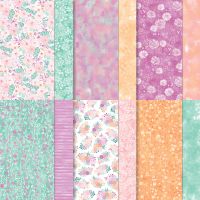
- Drapery: Unbounded Beauty Designer Series Paper 4" X 11-1/2"
- Place the 4" end at the top of your paper trimmer. Move the paper to 1-1/2" and place a tick mark at the top.
- Cut from the tick mark down to the lower corner of your piece.
- Place the horizontal end (or the 11-1/2" side) of the wide piece of DSP at the top of your paper trimmer and make the following score marks: 3", 4", 6", 7", 9", 10"
- Fold and burnish the folds, folding in and then out. see the video for clarification.
- Cut two inches off the wide end of the smaller piece to use as a border on your inside layer. Trim the hangover with your paper snips.
STAMPS
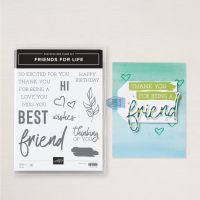
- Friends For Life Photopolymer Stamp Set
INK
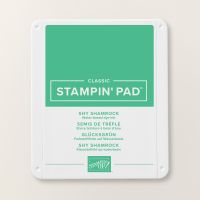
- Shy Shamrock Classic Stampin' Pad
ADHESIVES
- Multipurpose Liquid Glue
- Mini Glue Dots
- Stampin' Dimensionals
EMBELLISHMENTS
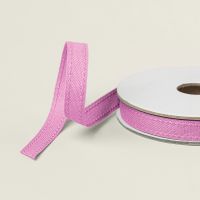
- Petunia Pop Ribbon
TOOLS
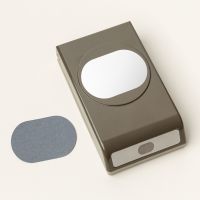
- Oval Punch
- Bone Folder
- Paper Snips
- Paper Trimmer
Check out the products below and click on those you are interested in. By clicking you will be directed to my shop! Thanks for joining me today! Happy Stamping!









No comments:
Post a Comment