I found out about this card from a video I had watched. I don't remember whose video it was. I had viewed many videos quite a while ago. I failed to write down the name of the demonstrator. However, I did change the measurements a bit, to make it my own creativity. This card can be a lot of fun to do. Your fun fold is a "door" that opens to a nice surprise. That surprise can be whatever you want! I made mine with a new set coming out in our 2024 September - December Mini Catalog. The suite is the Wintery Tree Tops Suite. I used the Designer Series Paper, stamp set, embossing folder, and gems from that suite. Below are the details of what is needed for this card. You can view the video as many times as you want to see how it is put together. Note: It is up to you what colors and products you wish to use. This is an example of what can be done.
PAPER
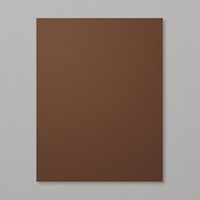
- Base Card: 5-1/2" X 8-1/2" , score at 4-1/4"Early Espresso Cardstock
- Starting with the vertical side, cut down from 3" to the 4-1/4" score line.
- Turn the paper one quarter. A long the score line, cut down to 3".
- Put aside the section that was cut.
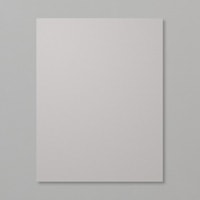
- Inside Layer: 5-1/4" X 4" Gray Granite Cardstock
- Emboss this layer
- Top Layers on both sides of the door:
- (2) 4" X 2-3/4" Granite Gray Cardstock
- (2) 3-3/4" X 2-1/2" Nests of Winter Designer Series Paper
- (2) circles using the 2" circle punch, Basic White Cardstock, and Early Espresso Cardstock
- (2) circles using the 2-3/8" circle punch, Basic White Cardstock, and Early Espresso Cardstock
STAMPS
- Winterly Tree Tops Cling Stamp Set
INK
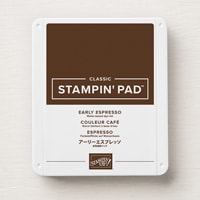
- Early Espresso Classic Stampin Pad
ADHESIVES
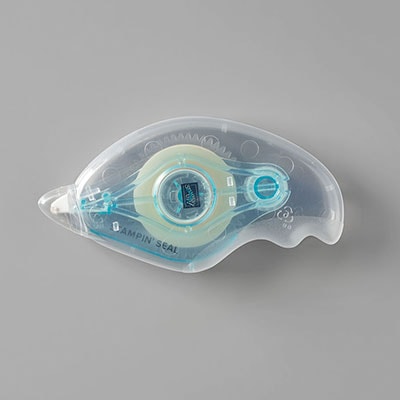
- Stampin' Seal
- Multipurpose Liquid Glue
- Stampin' Dimensionals
- Mini Stampin' Dimensionals
EMBELLISHMENTS
- Earth Tones Shimmer Gems
TOOLS
- Bone Folder
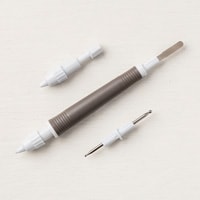
- Take Your Pick
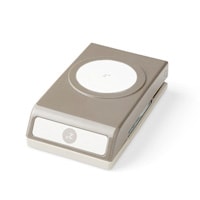
- 2" Circle Punch
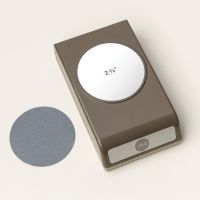
- 2-3/8" Circle Punch
- Birch Wood 3D Embossing Folder
- Paper Trimmer
- Stampin & Cut Embossing Machine










No comments:
Post a Comment